
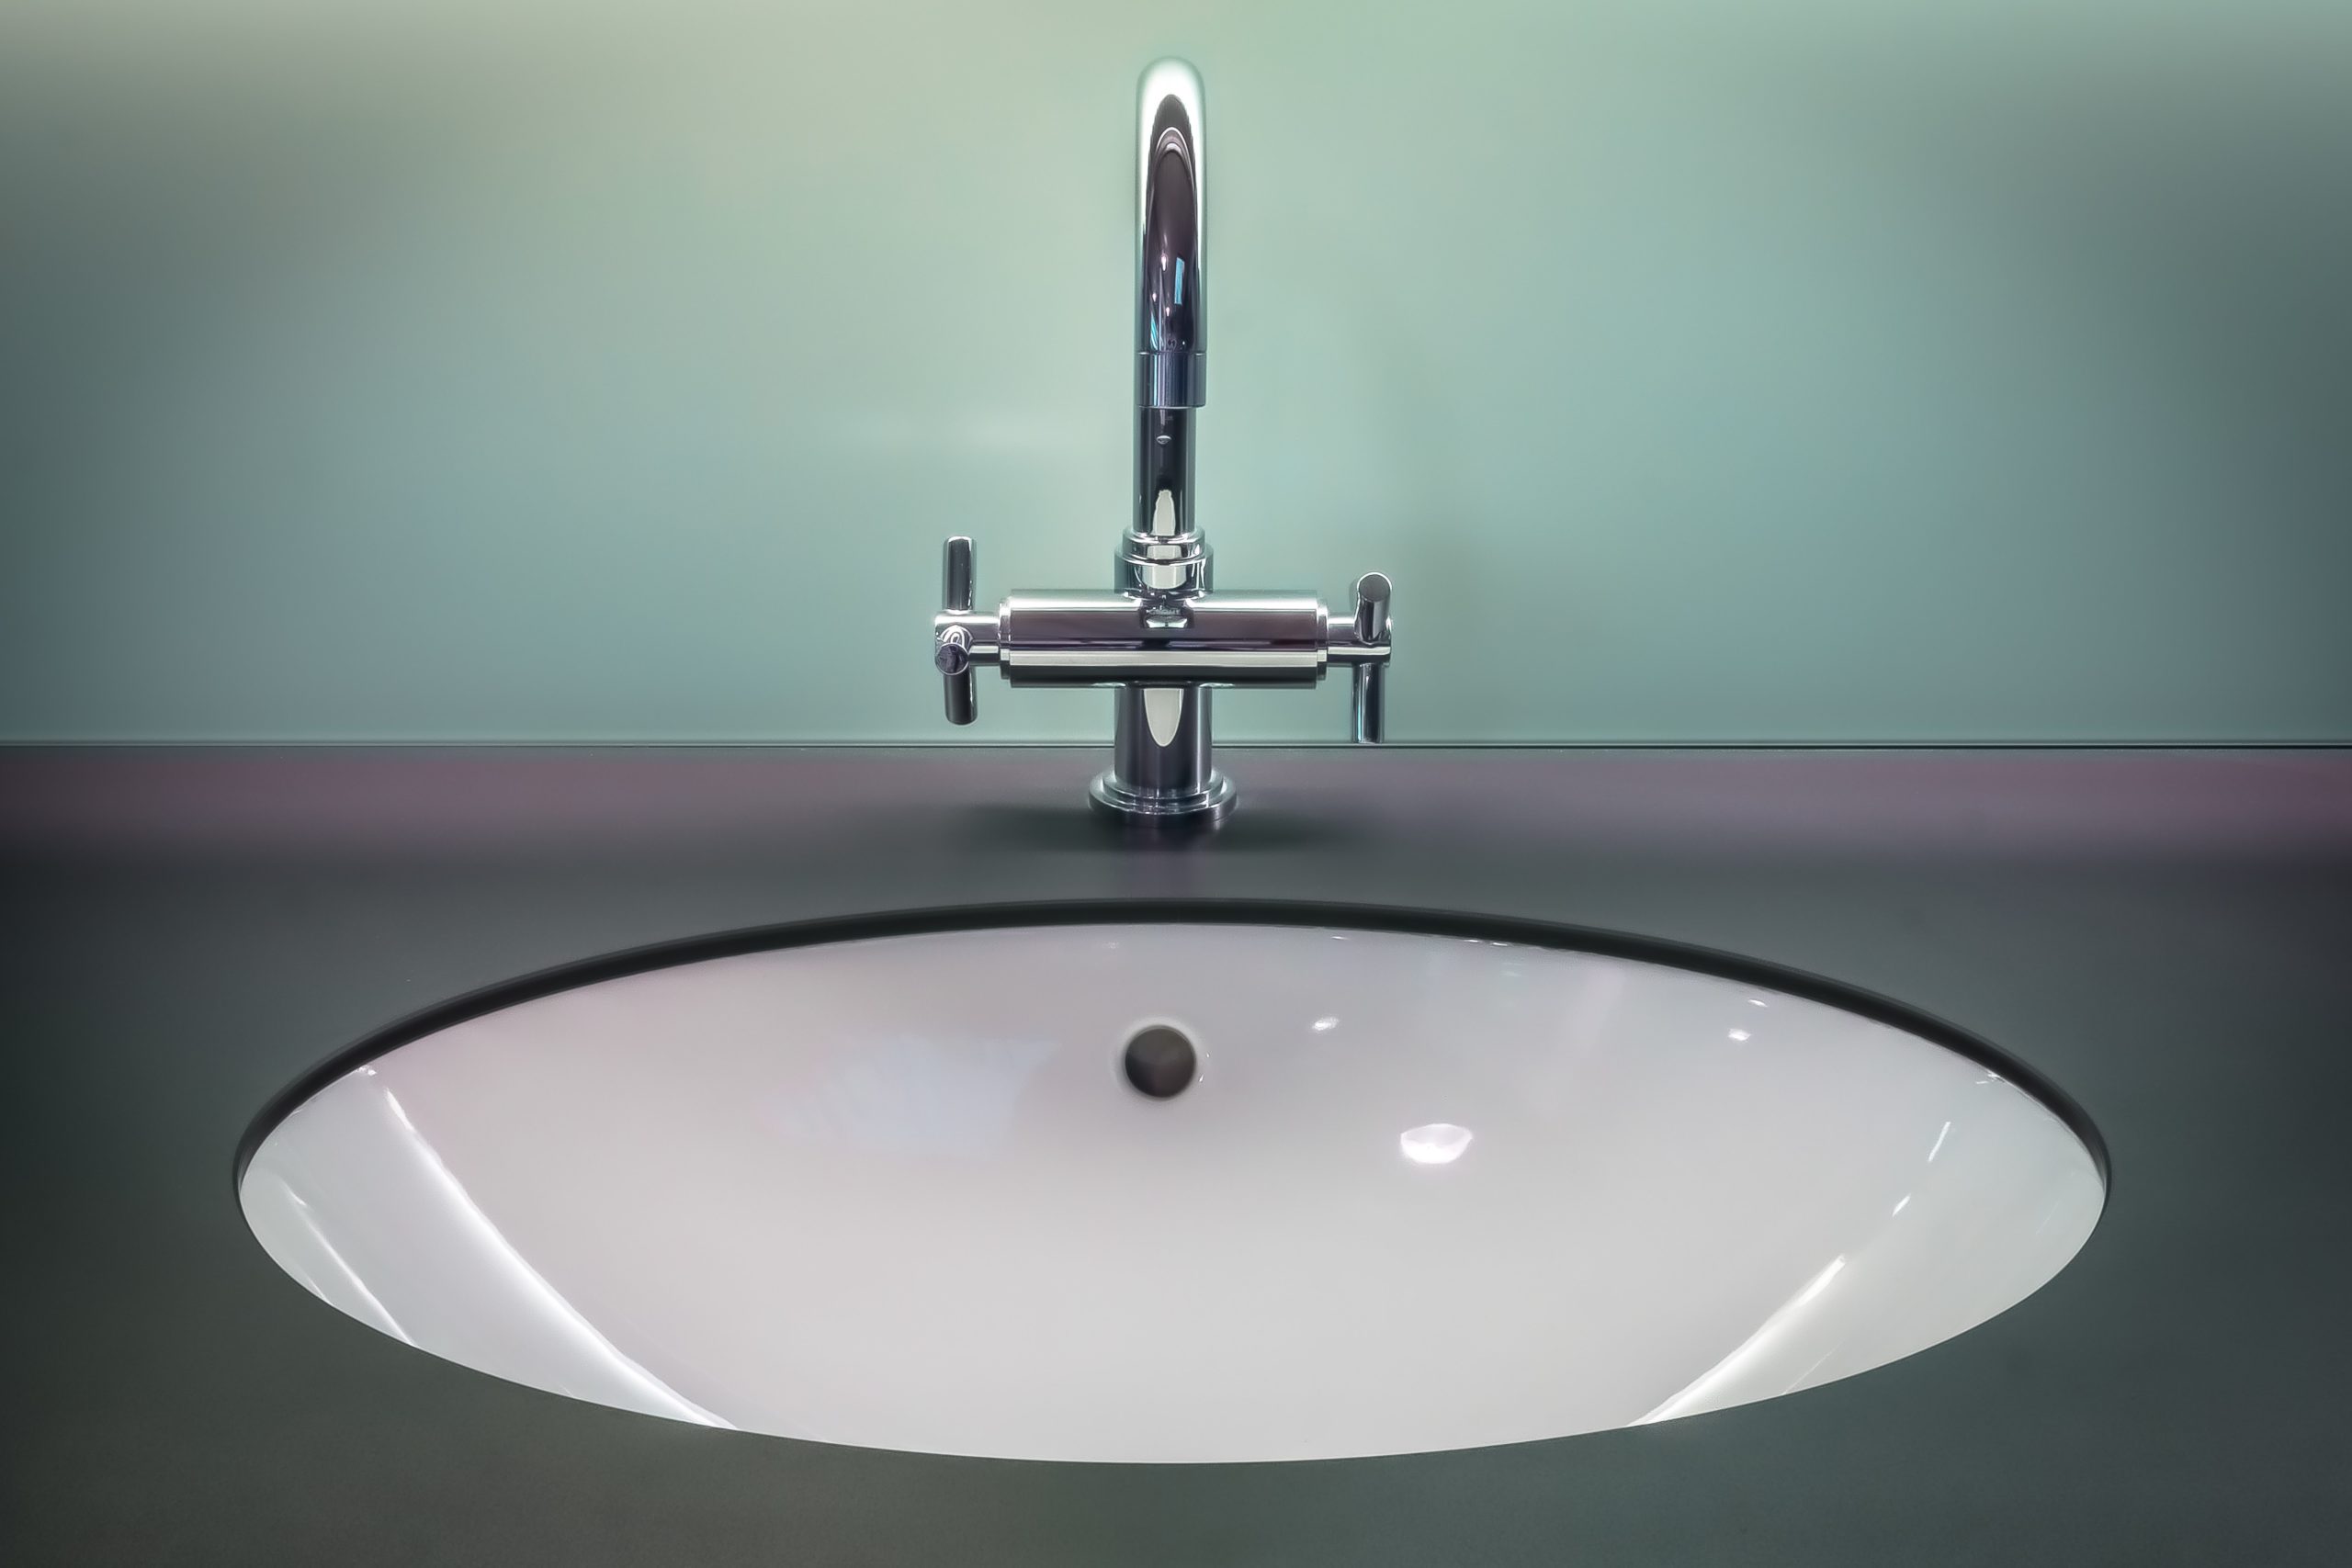
How To Fix a Dripping Faucet

While a dripping faucet isn’t a 5-alarm emergency, it shouldn’t be ignored. Dripping faucets waste an astoundingly large amount of water. In fact, the Environmental Protection Agency estimates that 3,000 gallons of water are wasted each year from just one leaky faucet! The first step to fixing a dripping faucet is determining what is causing the leak. Read on to learn about the causes of dripping faucets and some DIY ways to fix them.
Not feeling up to the task? The team at James A. Wheat & Sons is prepared to step in to help address all your leaky faucet issues both large and small. Our family-owned and -operated business is dedicated to ensuring each customer has a positive experience. Our certified master plumbers will diagnose your leak problem quickly and restore proper function you can rely on.
Contact the professionals at Wheat & Sons at 240-399-5051 with any questions you have about a dripping faucet. Our team has been serving the Maryland, Virginia, and Washington, DC, areas for years. We stand behind every job we perform.
Dripping Faucets: What Causes Them?
A small droplet of water repeatedly leaking from a faucet head, handle, or base could be occurring for a variety of reasons. Some of the most common include:
- Broken washers
- Damaged O-rings
- Corroded valve seats
- Improper water pressure
- Impaired cartridges
Below, we will address how to fix each of these common causes for dripping faucets. Following these easy instructions will get your faucet leak fixed in no time!
Broken Washers and O-rings
Washers that are improperly sized, not installed properly, or that have worn out often lead to leaking. To replace a faucet washer, perform the following simple steps:
- Turn off the water supply valves under the sink.
- Turn both faucet handles to the “on” position to empty any water from the pipes.
- Remove both handles/knobs by taking off the temperature cap (marked H or C) to uncover the screw. Remove the screw and the knob or handle.
- Use a wrench to loosen the locking nut and remove the valve stem.
- Remove the screw, the black washer, and the white O-ring.
- Cover the valve stem with plumbers’ grease and install a new O-ring and washer. Replace the screw.
- Replace the valve stem and reassemble the knobs/handles.
- Turn the water supply lines back on and test the faucet. If no leaks are present, you are good to go!
Corroded Valve Seats
The valve seat of your faucet is part of the compression mechanism that supports the spout and faucet. Sediment buildup can corrode the valve seat and cause spout-area leaks. To fix this issue, complete the following:
- Use a seat wrench to turn the valve seat counterclockwise.
- Remove the damaged seat and replace it with a new seat wrench.
- Test the valve seat to see if it moves. If it doesn’t, put a seat sleeve in the spot of the former seat to make a tight seal.
- Use a grinder tool to smooth any worn edges.
Improper Water Pressure
Water pressure that is too strong disrupts the regular flow of water through your pipes, which can cause leaks. To fix this issue, call a plumber to have your water pressure tested and readjusted to a proper level.
Impaired Cartridges
Cartridge-related faucet leaks are common because so many household faucets are cartridge faucets — single- or double-handled. The cartridge is the plastic piece in your faucet that manages water flow. To replace a broken cartridge, follow these steps (it may be helpful to take pictures as you go to help you remember what you have done along the way):
- Shut off the water.
- Remove any cosmetic handle covers.
- Remove the handles and nuts with an adjustable wrench (and screwdriver for the screws).
- Remove the faulty cartridge (a plastic cylinder with notches in the side). Some cartridges need to be removed with a cartridge tool. Review the manufacturer’s guide for your faucet if needed.
- Remove the retaining nut and clip if you have a one-handle faucet.
- Remove the O-rings and springs.
- Replace the old cartridge and reassemble the faucet.
When to Call a Professional for Leaky Faucet Repair
If your DIY attempts to fix a dripping or leaky faucet fails, don’t hesitate to call on a professional plumber to get the job done quickly and efficiently. If you aren’t confident in your repairs, it is always a good idea to have a plumber come and inspect your work to avoid more serious issues. Wheat & Sons offer emergency plumbing services 24/7 to get your leak fixed before costly damages occur. Our skilled technicians can uncover the source of the problem and discuss with you the parts, components, and processes required to fix it. Trust our friendly team to give you the upfront pricing and timely service you need.
If you have a dripping faucet in your Maryland or Washington, DC, home, call Wheat & Sons at 240-399-5051 today! Our faucet repair pros will fix your leak to stop dripping water in its tracks and save you money from water waste.

What Can We Do For You?
Contact Us Today!
Homepage Footer


We Treat You Like Family
Let us ensure that you have the highest degree of home comfort and become part of the James A. Wheat & Sons family.
- Same Day Service
- Lifetime Warranties
- Free Service Calls
- Trained Technicians
- Friends & Family Discounts
- And Much More!